DevExpress でのリボン(ASPxRibbon)のカラーボタン(RibbonColorButtonItem)に対して枠線サイズ設定のサンプルです。
現状の画面デザインはこのようになっています。
<リボンのカラーボタン枠線サイズ設定>
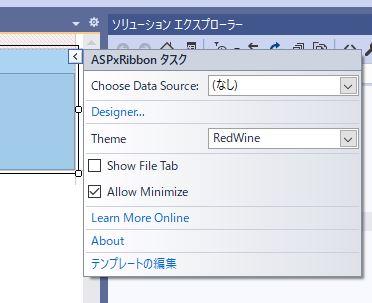
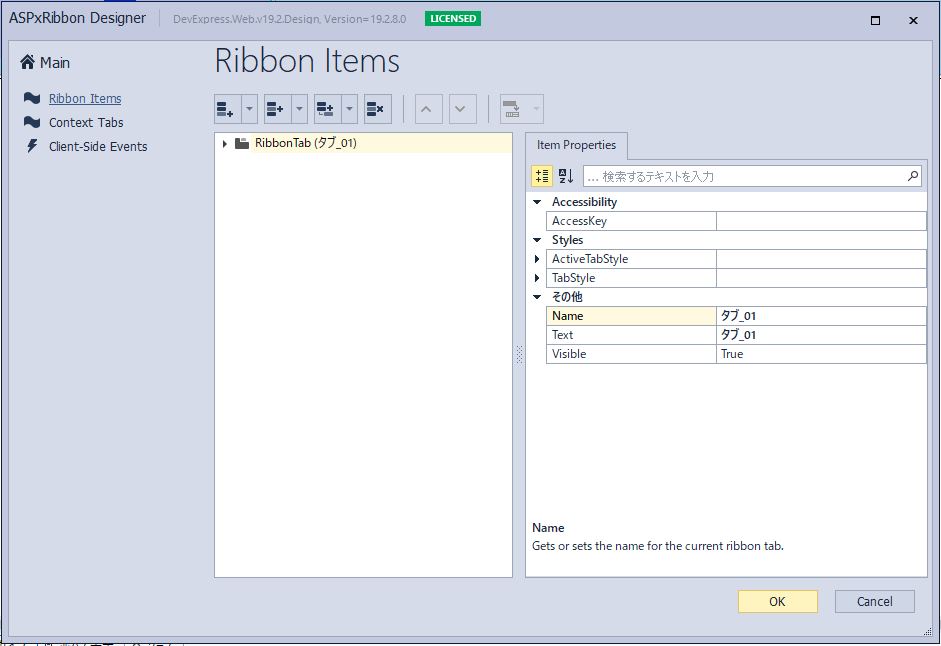
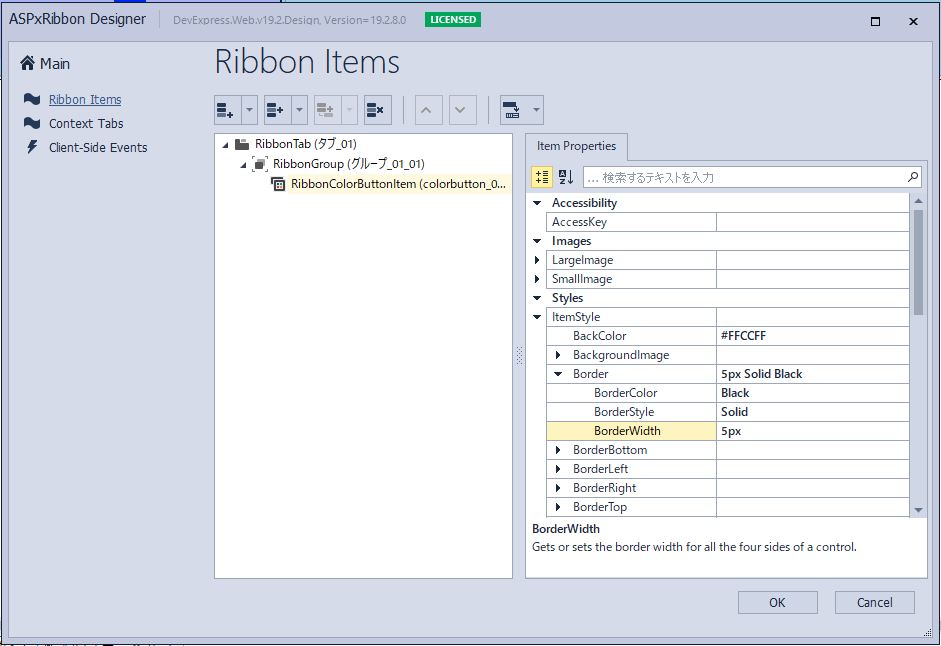
「ASPxRibbon」のコンテキストメニューから「Designer」を選択します。
↓
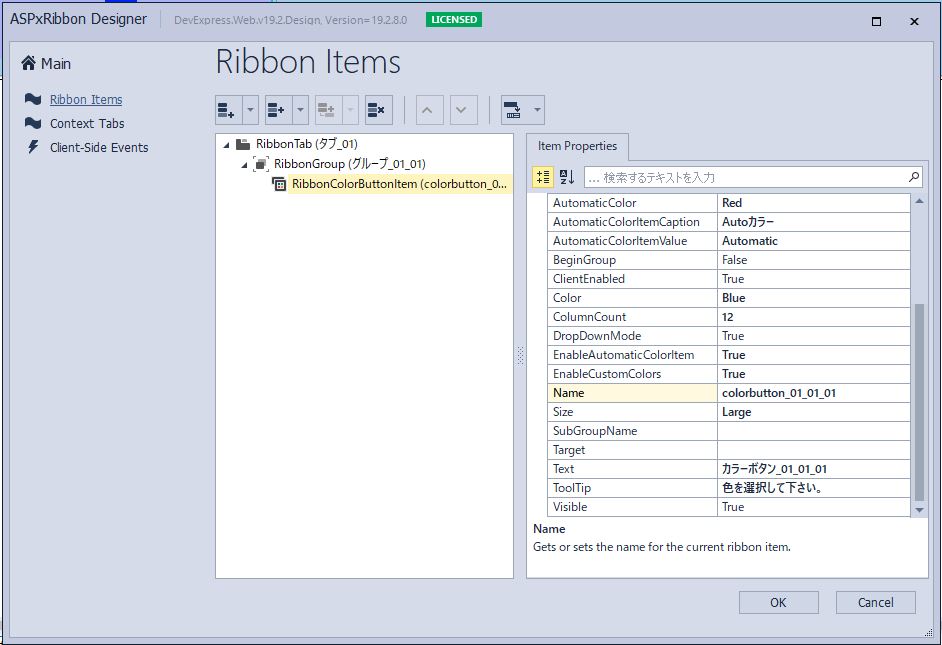
「タブ_01」、「グループ_01_01」を展開し、「colorbutton_01_01_01」を選択します。
「ASPxRibbon」、「Tabs」、「RibbonTab」、「groups」、「RibbonGroup」、「Items」、「RibbonColorButtonItem」の「ItemStyle」に対して「Border-BorderWidth=”5px”」を設定します。
【サンプルプログラム】
|
1 2 3 4 5 6 7 8 9 10 11 12 13 14 15 16 17 18 19 |
<form id="form1" runat="server"> <div> <dx:ASPxRibbon ID="ASPxRibbon1" runat="server" ShowFileTab="False" Theme="RedWine"> <Tabs> <dx:RibbonTab Name="タブ_01" Text="タブ_01"> <groups> <dx:RibbonGroup Name="グループ_01_01" Text="グループ_01_01"> <Items> <dx:RibbonColorButtonItem AutomaticColorItemValue="Automatic" Name="colorbutton_01_01_01" Text="カラーボタン_01_01_01" ColumnCount="12" Color="Blue" ToolTip="色を選択して下さい。" AutomaticColor="Red" EnableAutomaticColorItem="True" EnableCustomColors="True" AutomaticColorItemCaption="Autoカラー" Size="Large"> <ItemStyle Width="300px" BackColor="#FFCCFF" Border-BorderColor="Black" Border-BorderStyle="Solid" Border-BorderWidth="5px" Font-Size="14pt" ForeColor="#CC00CC" /> </dx:RibbonColorButtonItem> </Items> </dx:RibbonGroup> </groups> </dx:RibbonTab> </Tabs> </dx:ASPxRibbon> </div> </form> |
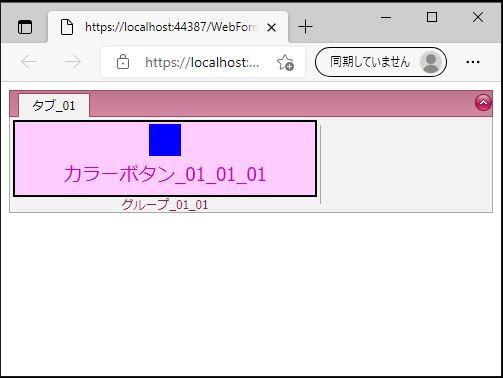
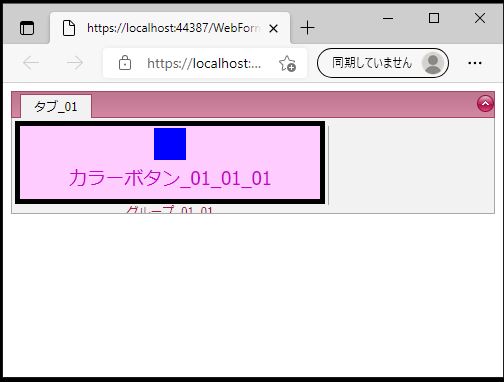
それでは、実行して動作確認を行います。
↓
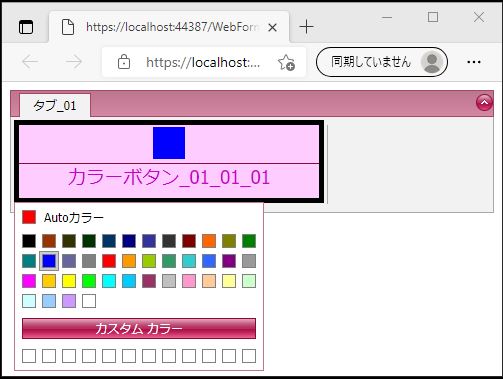
無事、リボン(ASPxRibbon)のカラーボタン(RibbonColorButtonItem)に対して枠線サイズ設定が出来ました。

