DevExpress の ASPxScheduler でのスケジュール移動画面の設定のサンプルです。
過去のスケジュール登録画面の設定内容は、スケジュール移動画面でも設定可能です。
しかし、設定するイベントが違いますので注意して下さい。
スケジュール登録画面:「PrepareAppointmentFormPopupContainer」イベント
スケジュール移動画面:「PrepareGotoDateFormPopupContainer」イベント
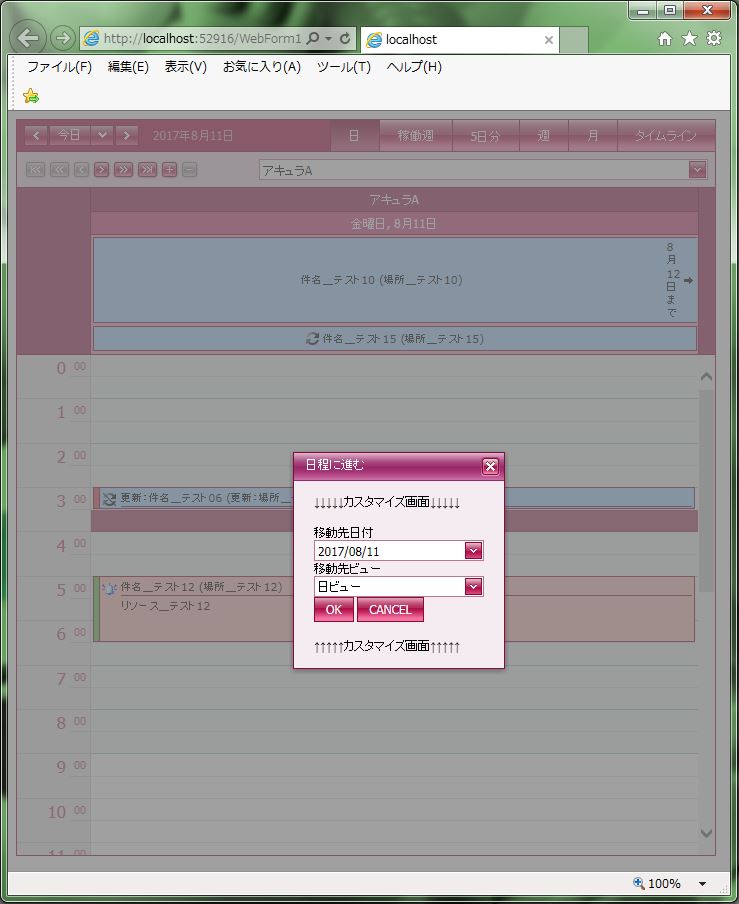
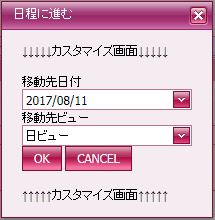
現状の画面デザインはこのようになっています。
<スケジュール移動画面の設定>
・「ASPxScheduler1」の「PrepareGotoDateFormPopupContainer」イベントで設定します。
【WebForm1.aspx.vb サンプルプログラム(VB.Net)】
|
1 2 3 4 5 6 7 8 9 10 11 12 13 14 15 16 17 18 19 20 21 22 23 24 25 |
Private Sub ASPxScheduler1_PrepareGotoDateFormPopupContainer(sender As Object, e As DevExpress.Web.ASPxScheduler.ASPxSchedulerPrepareFormPopupContainerEventArgs) Handles ASPxScheduler1.PrepareGotoDateFormPopupContainer 'ポップアップ 'サイズ設定 e.Popup.Width = Unit.Pixel(250) 'リサイズ可 e.Popup.AllowResize = True 'ヘッダータイトル e.Popup.HeaderText = "サンプル" '非表示ボタン e.Popup.ShowCollapseButton = True '最大化ボタン e.Popup.ShowMaximizeButton = True 'フッター e.Popup.ShowFooter = True 'フッタータイトル e.Popup.FooterText = "スケジュール移動" 'ポップアップテキスト e.Popup.Text = "ポップアップテキスト" + Environment.NewLine + Environment.NewLine '位置(縦) e.Popup.PopupVerticalOffset = -200 '位置(横) e.Popup.PopupHorizontalOffset = -200 'スクロール e.Popup.ScrollBars = ScrollBars.Both End Sub |
それでは、実行して動作確認を行います。
↓
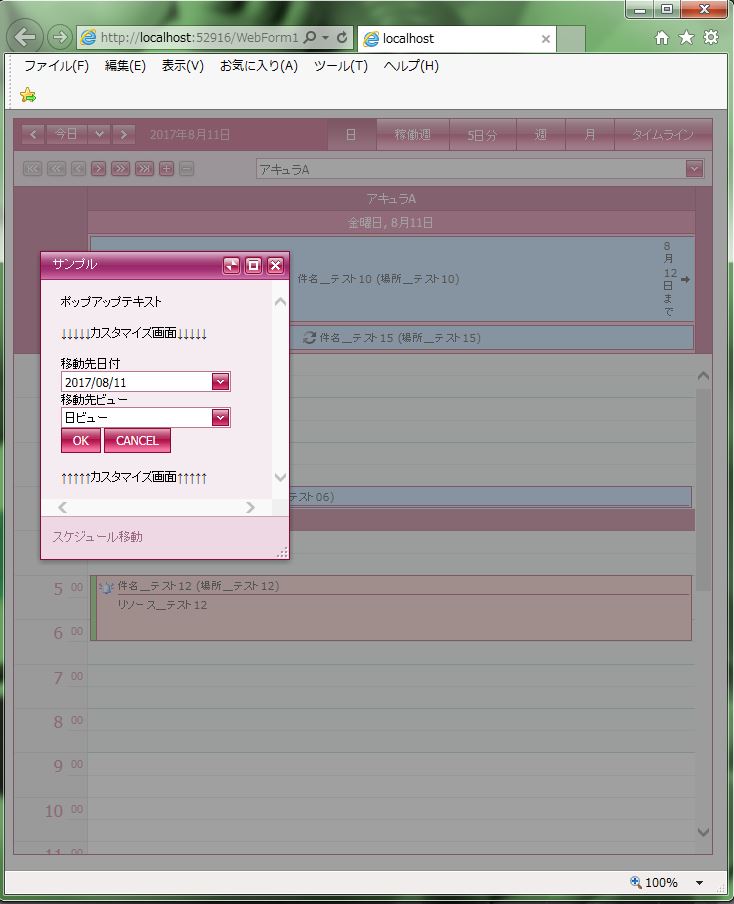
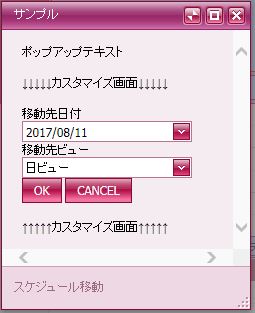
無事にスケジュール移動画面の設定が出来ました。

