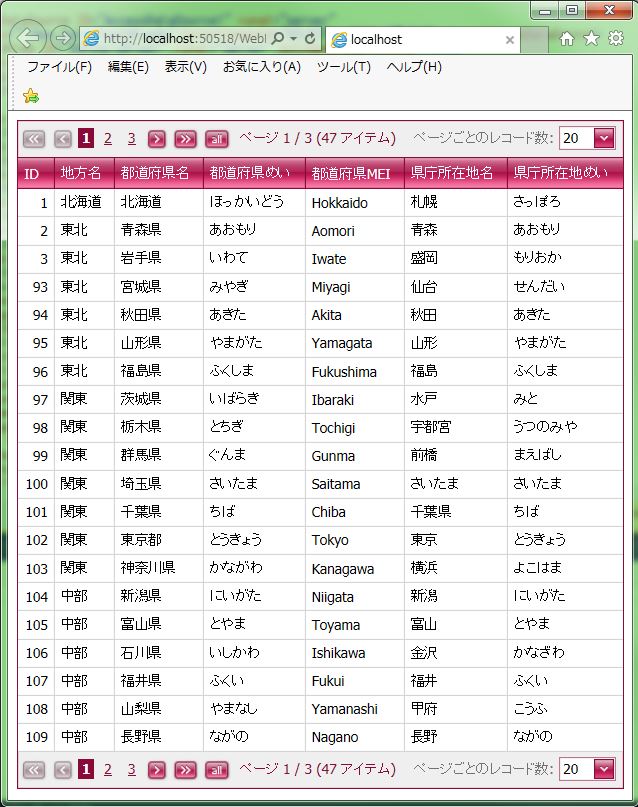
DevExpress の Pager 設定のサンプルです。
「ASPxGridView」を使用します。
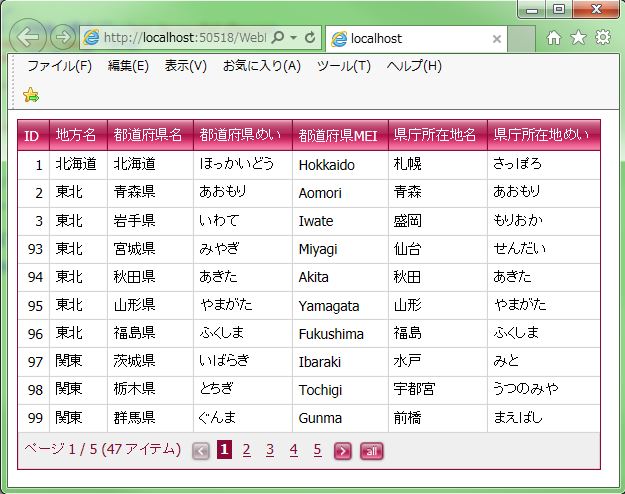
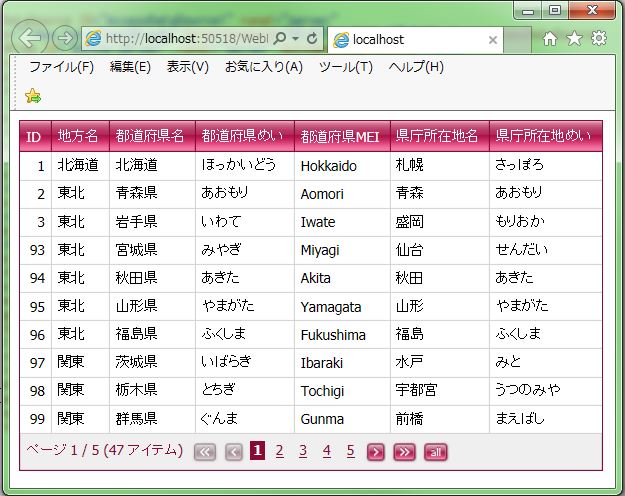
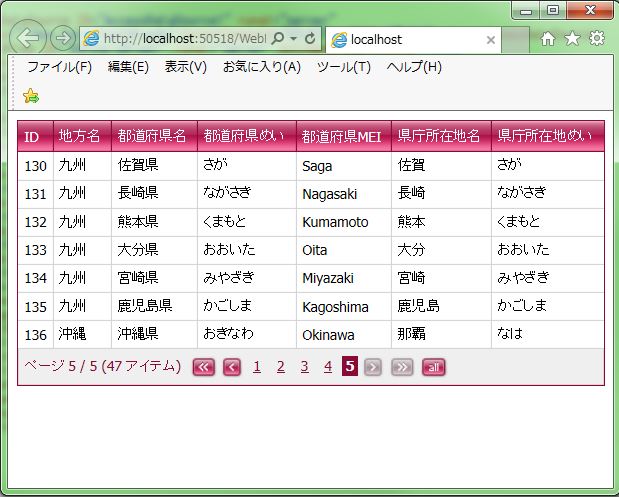
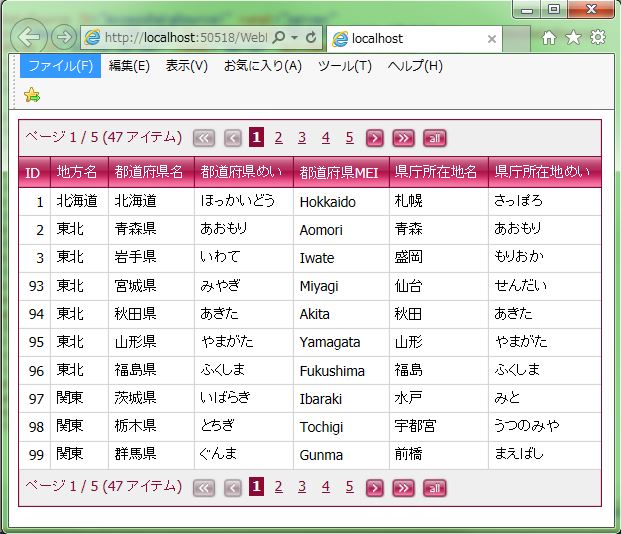
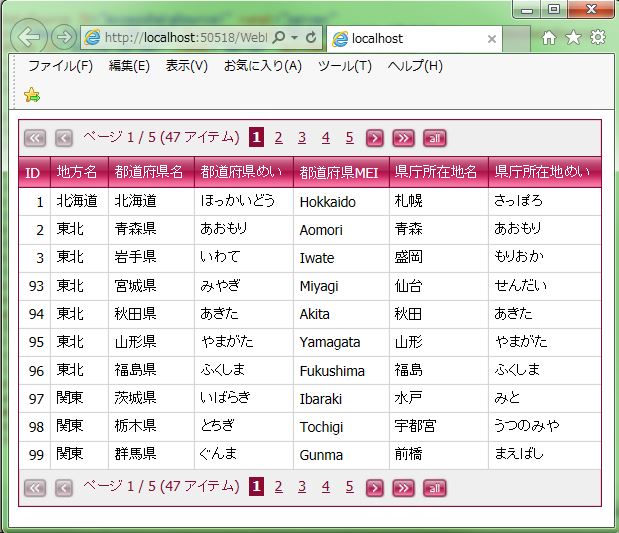
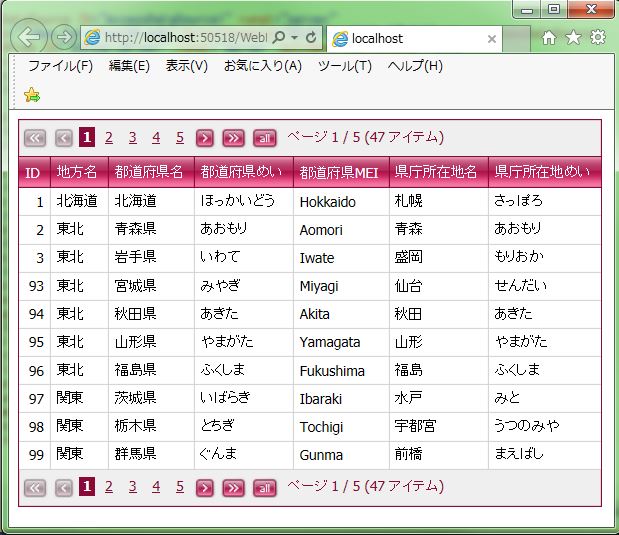
現状の画面デザインはこのようになっています。
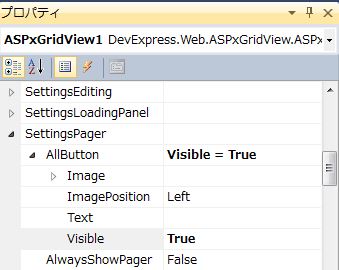
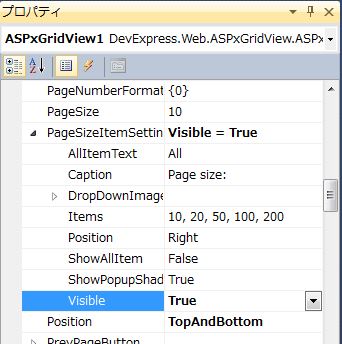
「ASPxGridView」オブジェクトのプロパティを変更していきます。
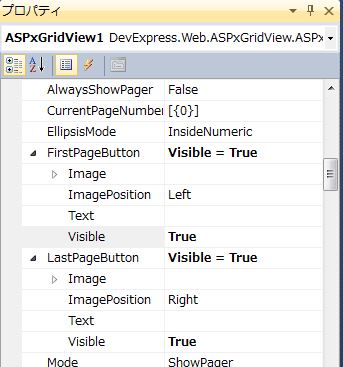
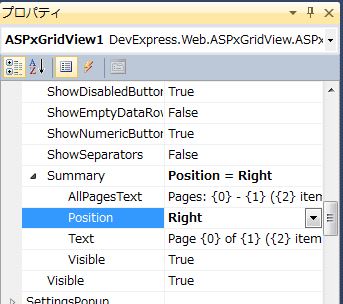
※プロパティ画像は「グループ表示」
<「all」ボタン表示>
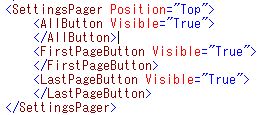
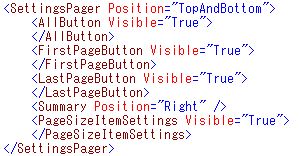
「AllButton Visible=”True”」に変更します。
↓
【自動生成PG】
|
1 2 3 4 |
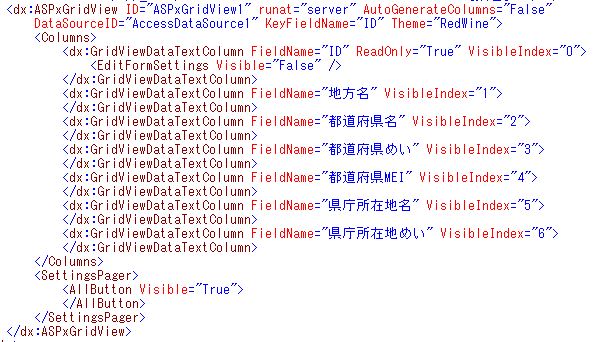
<SettingsPager> <AllButton Visible="True"> </AllButton> </SettingsPager> |
↓
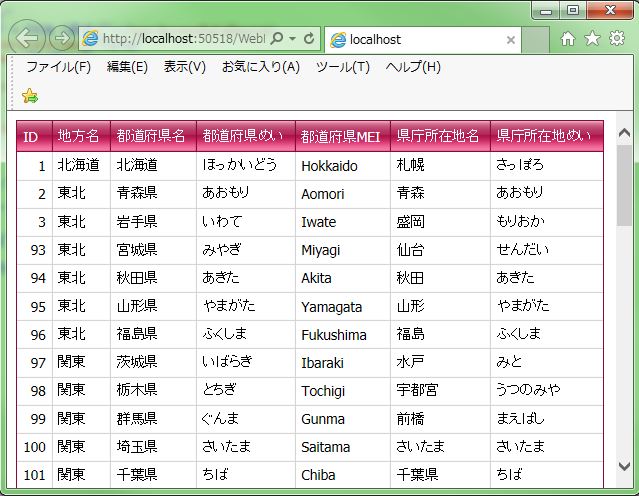
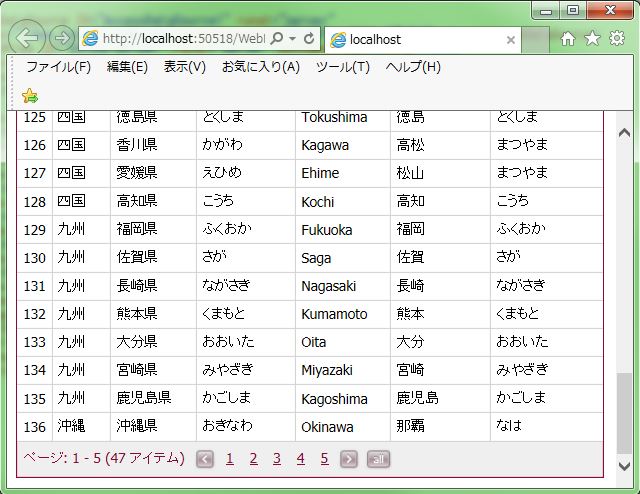
「all」ボタンをクリックすると全件表示されます。
<「<<(先頭)」、「>>(末尾)」ボタン表示>
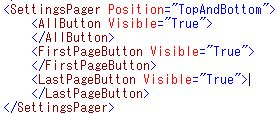
「FirstPageButton Visible=”True”」、「LastPageButton Visible=”True”」に変更します。
↓
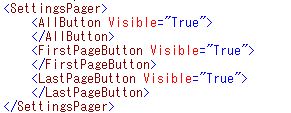
【自動生成PG】
|
1 2 3 4 |
<FirstPageButton Visible="True"> </FirstPageButton> <LastPageButton Visible="True"> </LastPageButton> |
↓
「>>」ボタンをクリックすると末尾ページが表示されます。
「<<」ボタンをクリックすると先頭ページが表示されます。
<ページ表示の位置設定>
・トップ表示
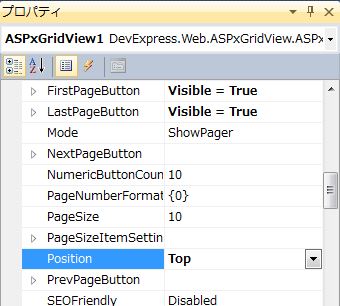
「Position=”Top”」に変更します。
↓
【自動生成PG】
|
1 |
<SettingsPager Position="Top"> |
↓
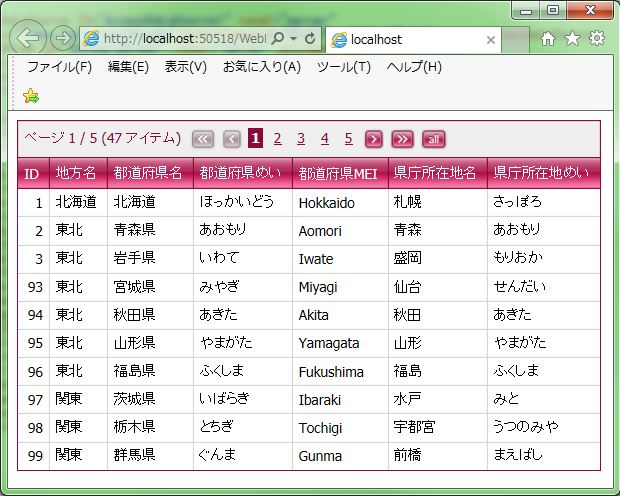
ページがグリッドの上部に表示されます。
・トップ、ボトム両方表示
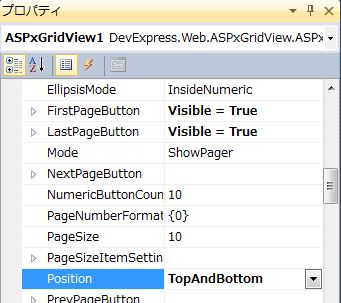
「Position=”TopAndBottom”」に変更します。
↓
【自動生成PG】
|
1 |
<SettingsPager Position="TopAndBottom"> |
↓
ページがグリッドの上部、下部両方に表示されます。
<サマリー表示の位置設定>
・インサイド表示
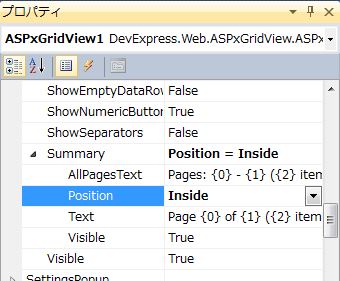
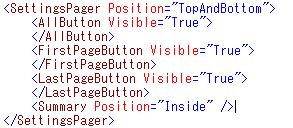
「Position=”Inside”」に変更します。
↓
【自動生成PG】
|
1 |
<Summary Position="Inside" /> |
↓
「ページ 1 / 5 (47 アイテム)」の文字が表示ページ番号に表示されます。
・右側表示
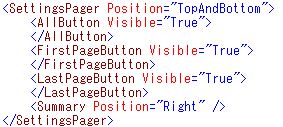
「Position=”Right”」に変更します。
↓
【自動生成PG】
|
1 |
<Summary Position="Right" /> |
↓
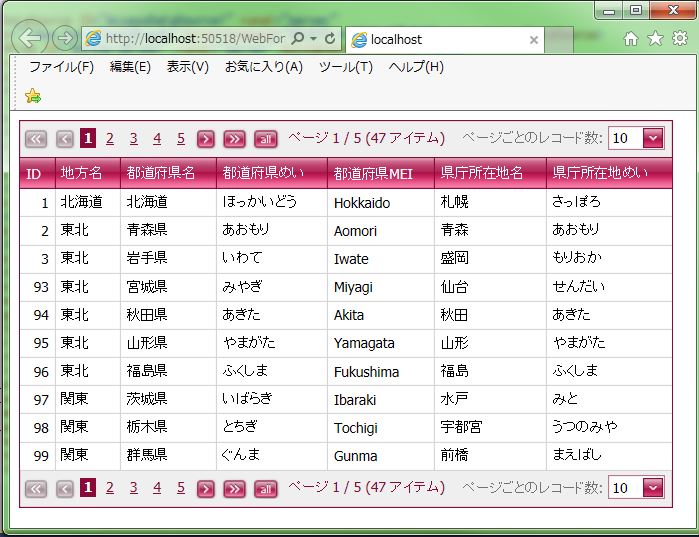
「ページ 1 / 5 (47 アイテム)」の文字が右側に表示されます。
<1ページの表示件数の変更表示>
「PageSizeItemSettings Visible=”True”」に変更します。
↓
【自動生成PG】
|
1 2 |
<PageSizeItemSettings Visible="True"> </PageSizeItemSettings> |
↓
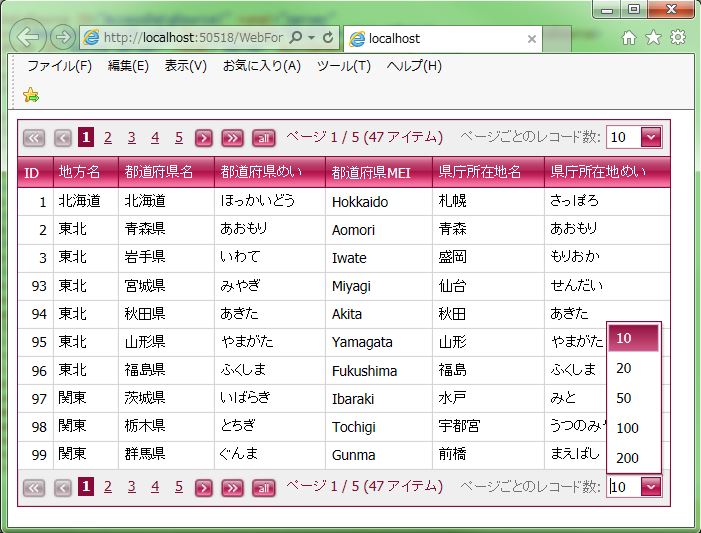
コンボボックスをクリックすると表示件数の一覧が表示されます。
↓
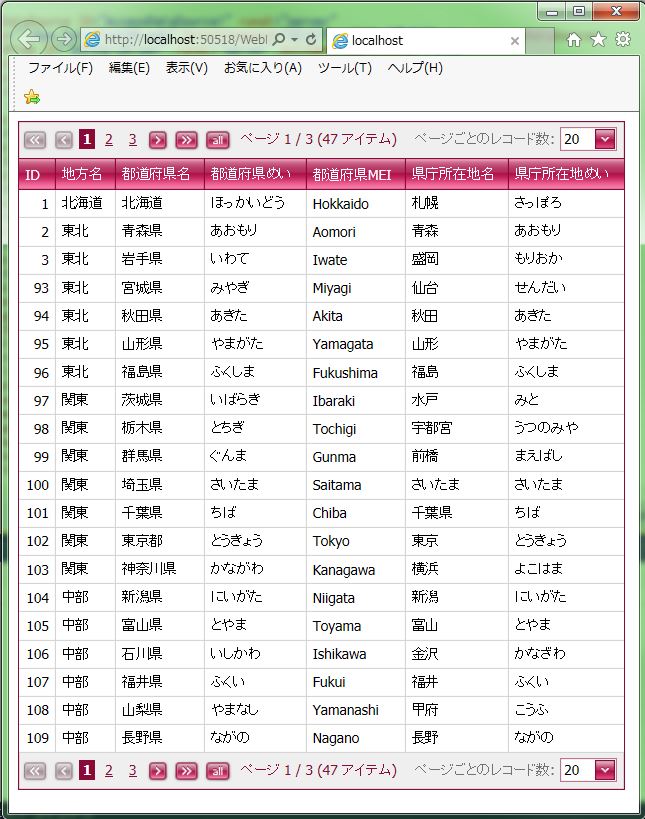
「20」件表示を選択しました。
<1ページの表示件数の一覧設定>
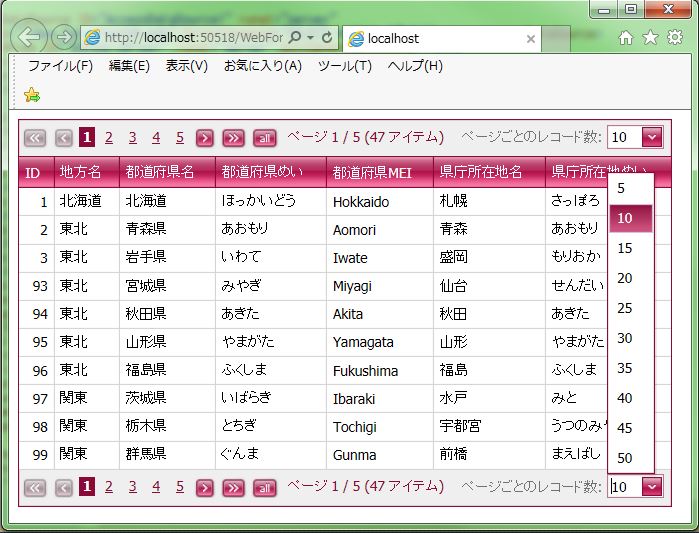
「PageSizeItemSettings Items=”5, 10, 15, 20, 25, 30, 35, 40, 45, 50″」に変更します。
↓
【自動生成PG】
|
1 2 3 |
<PageSizeItemSettings Items="5, 10, 15, 20, 25, 30, 35, 40, 45, 50" Visible="True"> </PageSizeItemSettings> |
↓
表示一覧で「5, 10, 15, 20, 25, 30, 35, 40, 45, 50」から選択可能になりました。
<1ページの初期表示件数の設定>
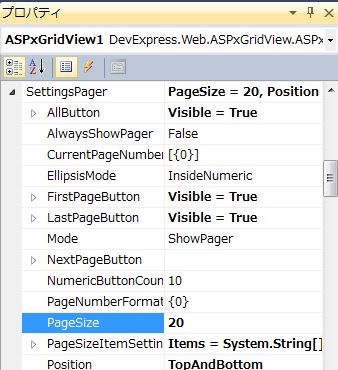
「PageSize=”20″」に変更します。
↓
【自動生成PG】
|
1 |
<SettingsPager PageSize="20" Position="TopAndBottom"> |
↓
初期表示が「10」件から「20」件に変更されました。
- 投稿タグ
- ASPxGridView


